Front Elevation Tiles Design for Indian Homes
12 elevations Materials and colour Updated October 2026
A good front elevation tiles design puts tiles where they protect the wall and catch the eye, not on every square foot. Tiles and cladding are the biggest cost driver on most fronts, so the area you cover matters more than the tile you pick.
This gallery covers stone look tiles, natural stone, wood look and brick tiles, granite and marble accents, and 3D tiles. Every picture notes the plot, floors and the fixing your contractor should use. Exterior tiles must be fixed with a proper adhesive or clamp system, with drip edges at the top, or they can crack and fall after a few monsoons.
For other materials, compare our ACP and WPC elevation page, jali designs and colour combinations.
Stone Front Elevation Tiles and Natural Stone Cladding
Stone gives a front weight and hides dust well. Stone look tiles are lighter and cheaper to fix, while natural stone lasts longest but needs clamps.
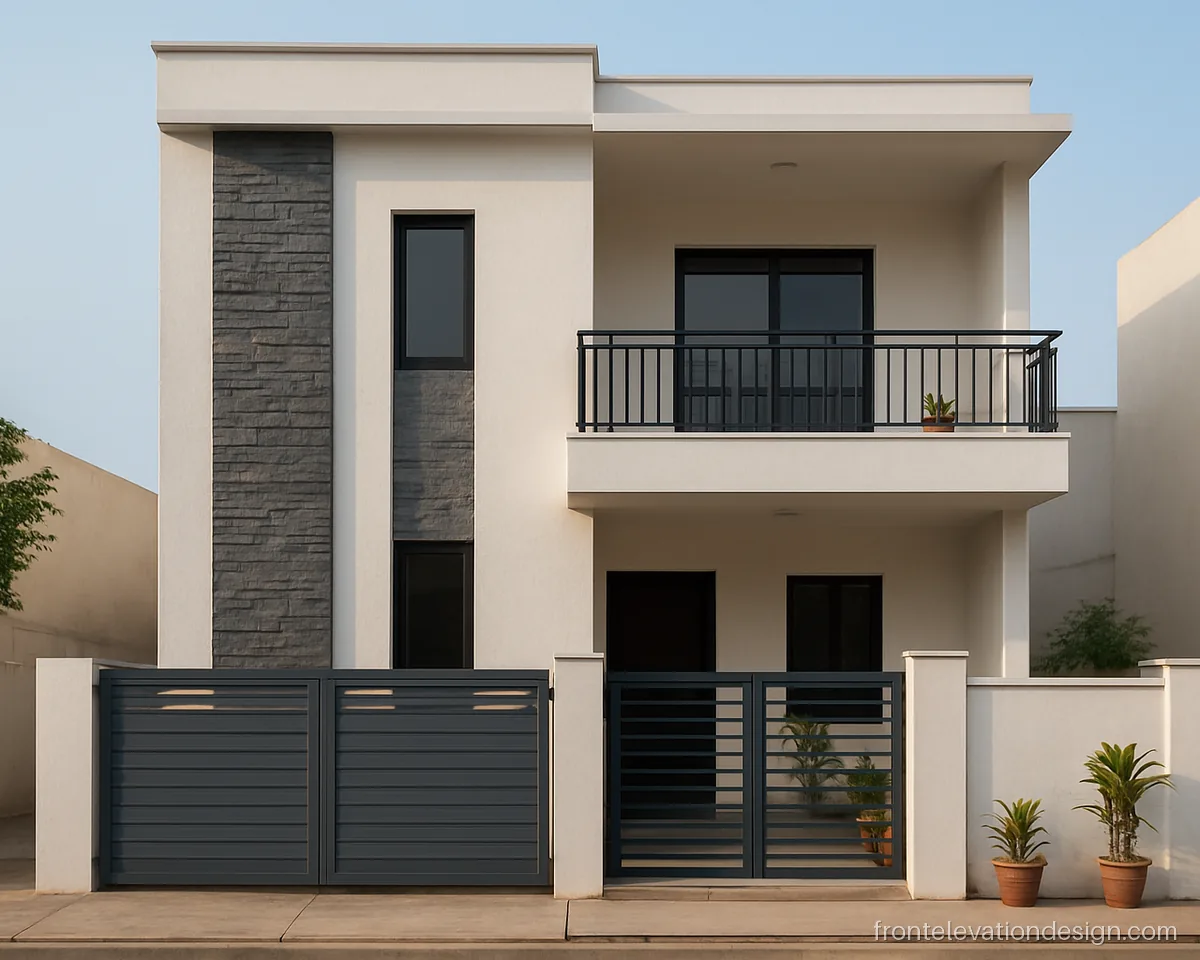
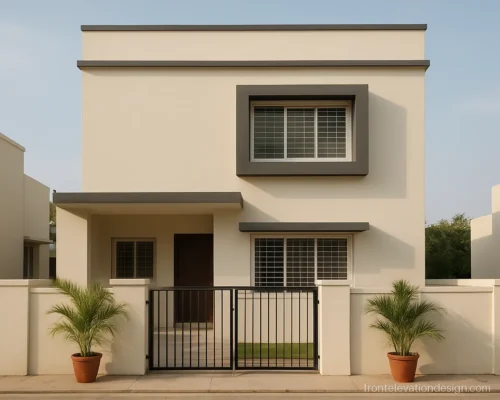
- Plot 25 x 50 ft
- Floors G+1
- Materials Stone look tiles, paint
Grey stone look tiles cover only the staircase band, which runs the full height. The rest of the front stays white, so the tiled strip reads as the main feature.
Architect's note: Use exterior tile adhesive and leave expansion joints. Add a metal drip edge at the top of the band.
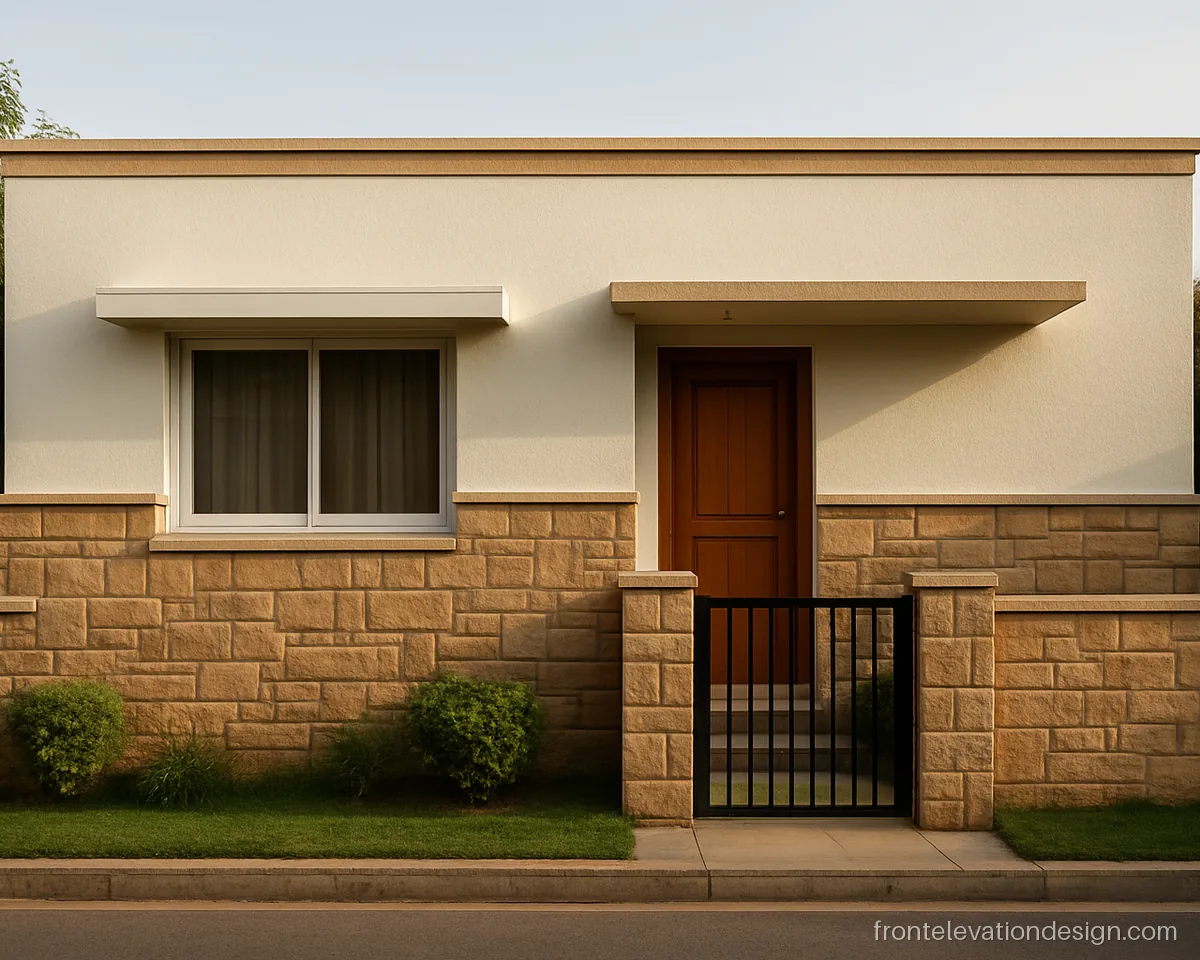
- Plot 30 x 40 ft
- Floors Ground floor
- Materials Natural sandstone
Real sandstone cladding on the lower wall stands up to rain splash and scuffs from the gate. It suits homes in hot, dusty towns.
Architect's note: Natural stone above 4 ft needs SS clamps as well as adhesive. Seal it once a year.
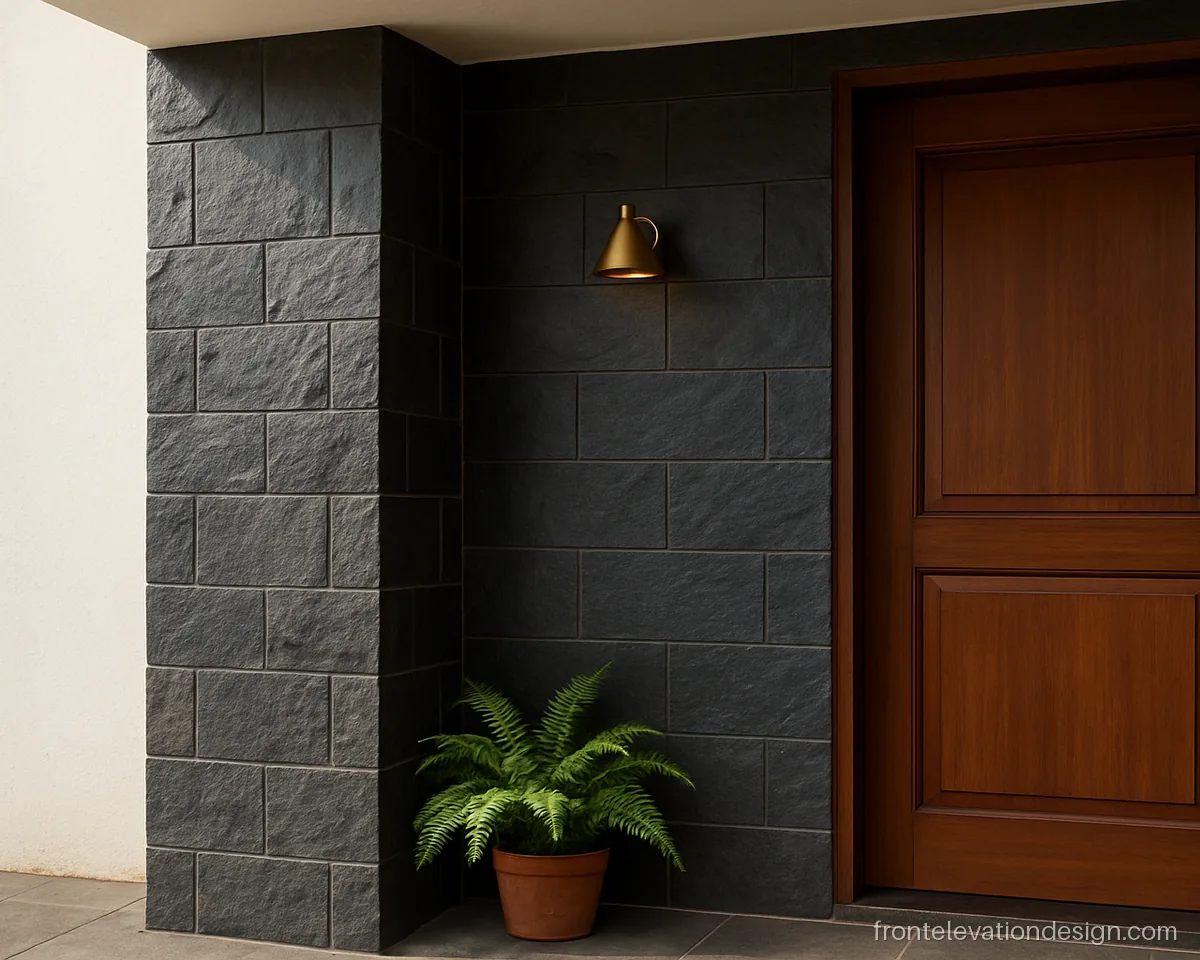
- Plot 30 x 50 ft
- Floors G+1
- Materials Slate tiles
Black slate on the entry pillar gives a strong base without darkening the whole front. Dark stone near the ground also hides splash marks.
Architect's note: Fix slate on a cement base with polymer adhesive. Keep 3 to 5 mm joints and grout them.
Wooden Look Tiles and Front Elevation Brick Design
Wood look tiles give a warm look without real timber that rots or needs polish. Brick tiles suit both old and new style homes and are easy to repair one tile at a time.
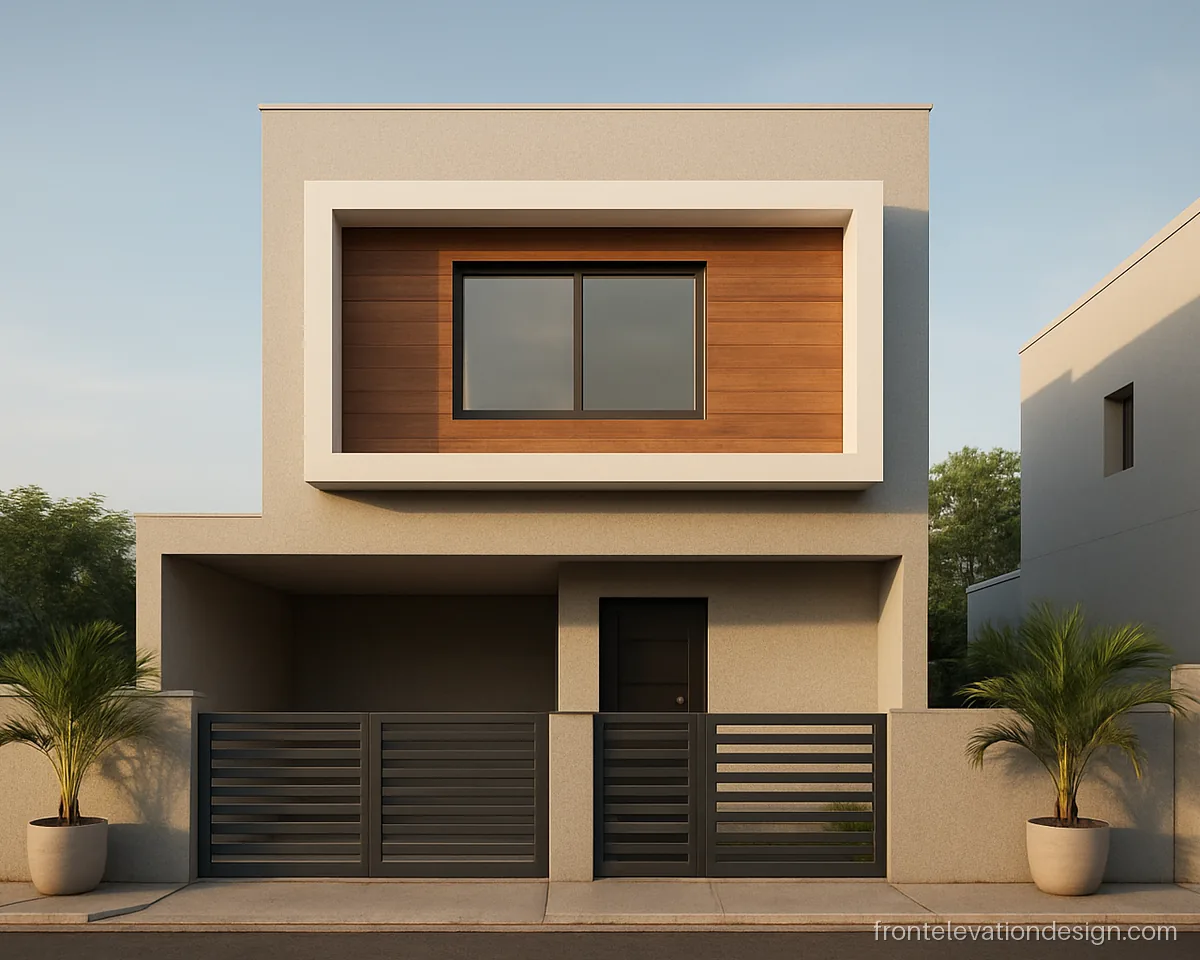
- Plot 30 x 50 ft
- Floors G+1
- Materials Wood look tiles, paint
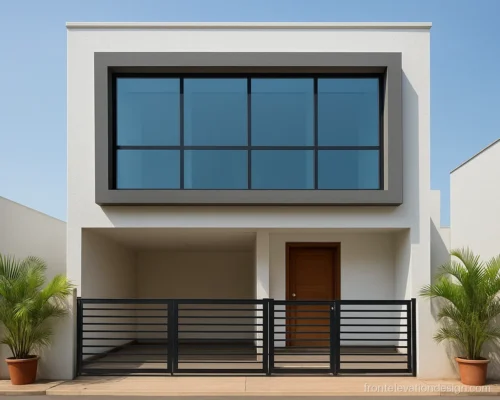
Wood look tiles line the inside of a first floor box, so they stay out of direct rain. Grey walls around them keep the look calm.
Architect's note: Use porcelain tiles rated for exterior use. Ask for a mechanical fixing on tiles above 8 ft.
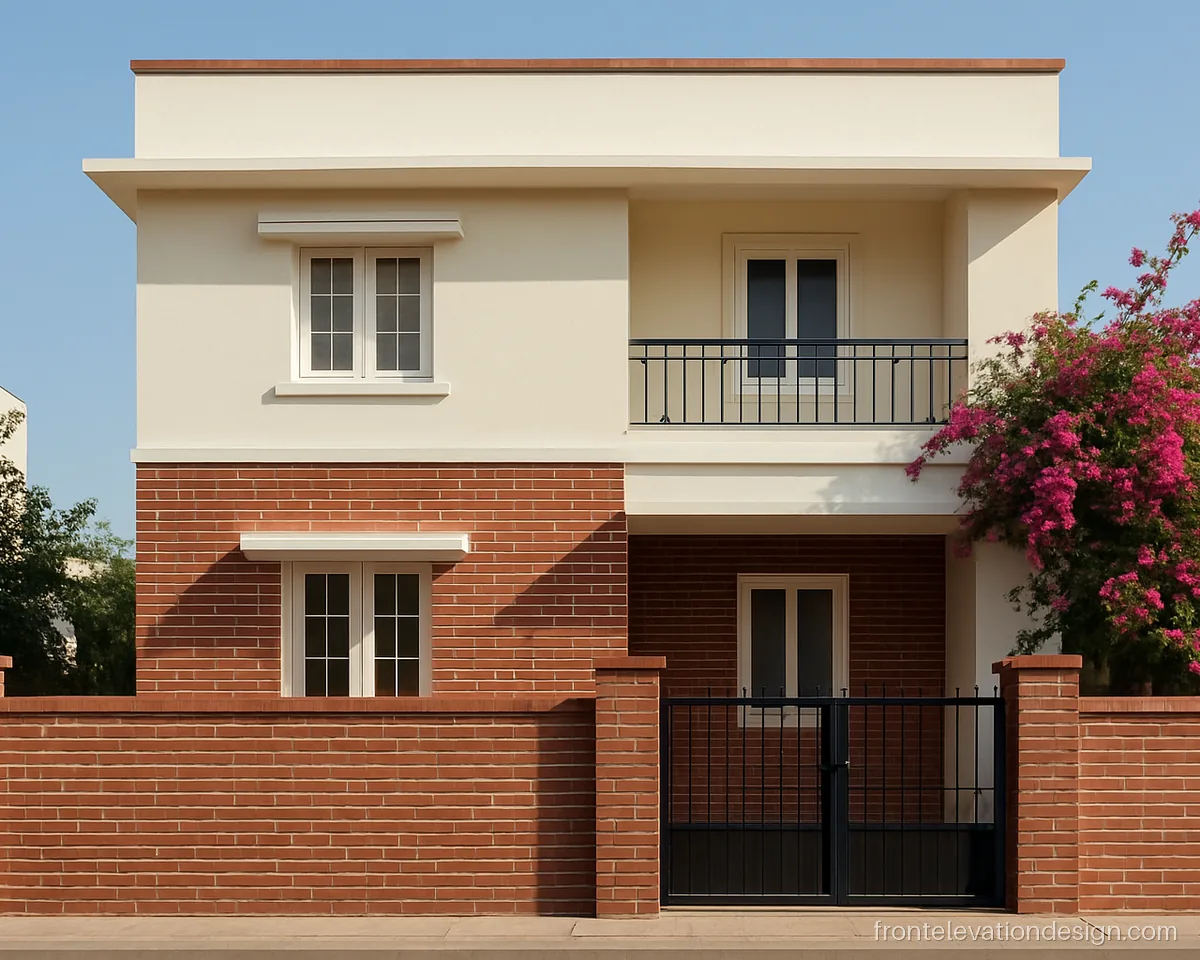
- Plot 25 x 40 ft
- Floors G+1
- Materials Brick tiles, paint
Red brick tiles across the ground floor with white trims give a classic look that ages well. Broken tiles are easy to replace.
Architect's note: Brick tiles absorb water. Apply a clear water repellent coat after grouting, and repeat every few years.
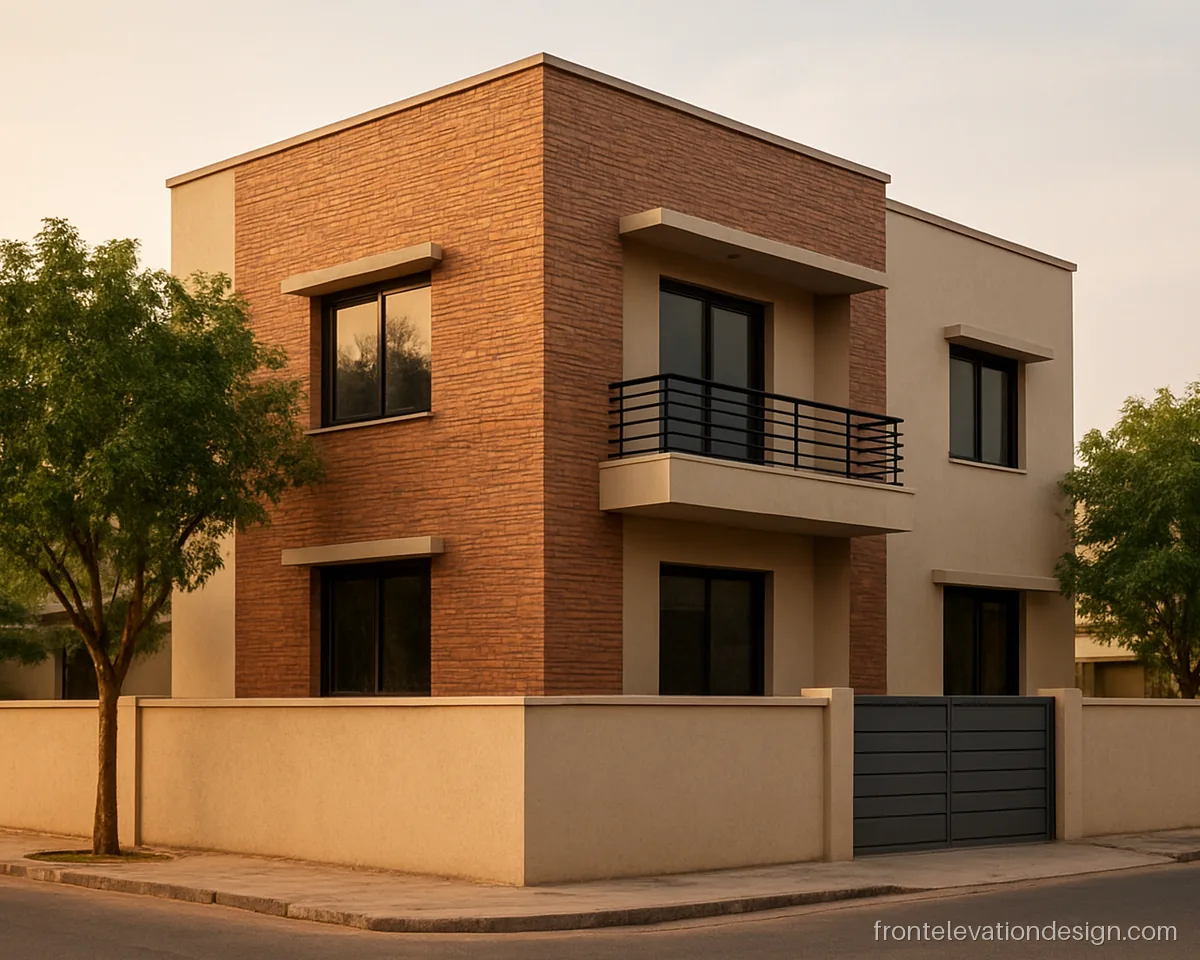
- Plot 40 x 60 ft
- Floors G+1
- Materials Brick strips, paint
Seen at an angle, brown brick strips wrap around the corner, which gives depth. This works well on corner plots where two sides face the road.
Architect's note: Use L-shaped corner tiles for a clean edge. Avoid cut tile edges at corners where water collects.
Granite and Marble Front Elevation Design
Granite is hard, stain resistant and good for pillars, plinths and gate walls. Marble looks fine but stains and weathers outdoors, so keep it to sheltered spots.
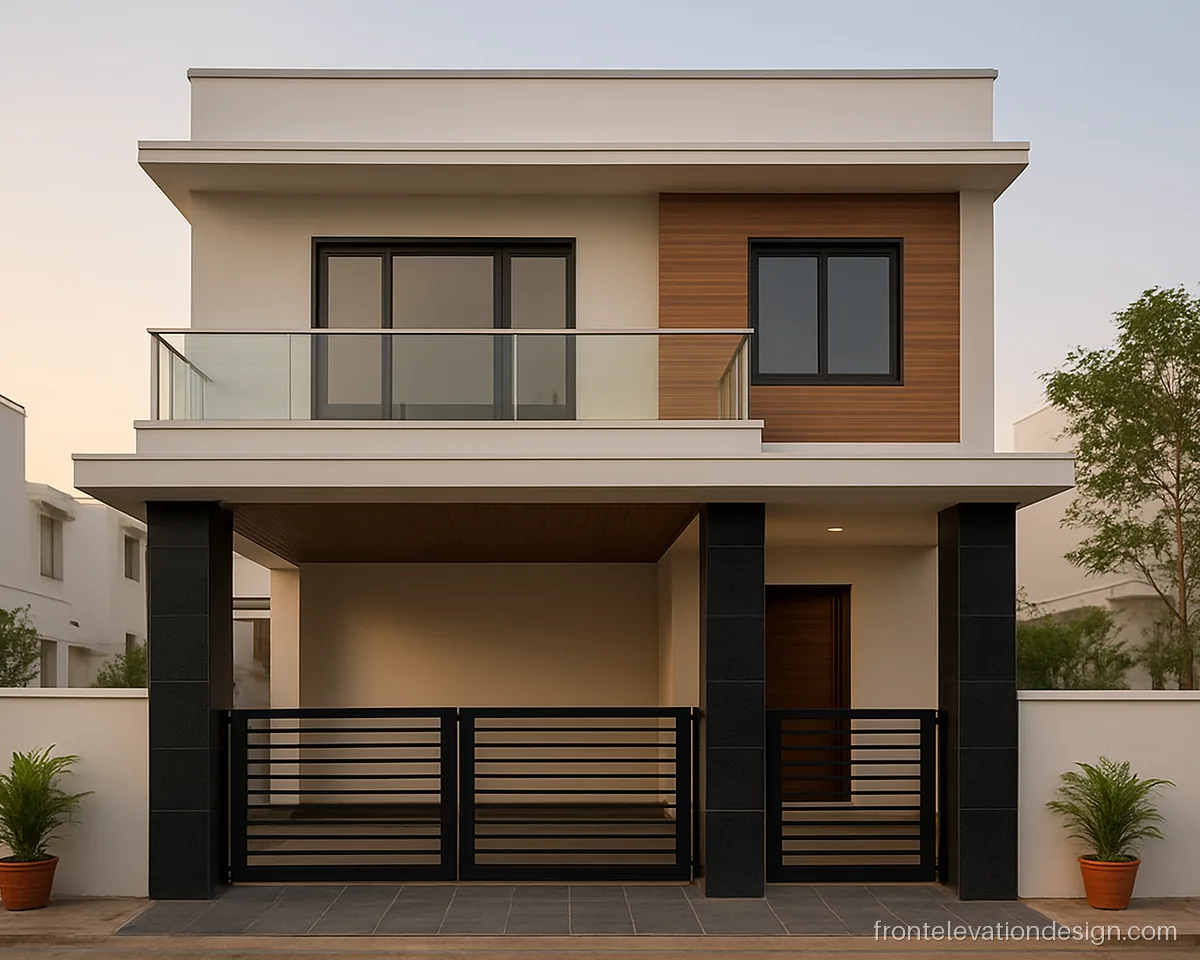
- Plot 30 x 60 ft
- Floors G+1
- Materials Black granite
Square black granite pillars at the porch handle knocks from cars and scooters. Polished granite is easy to wipe clean.
Architect's note: Granite slabs on pillars need SS clamps plus adhesive. Leave a small gap at the base for movement.
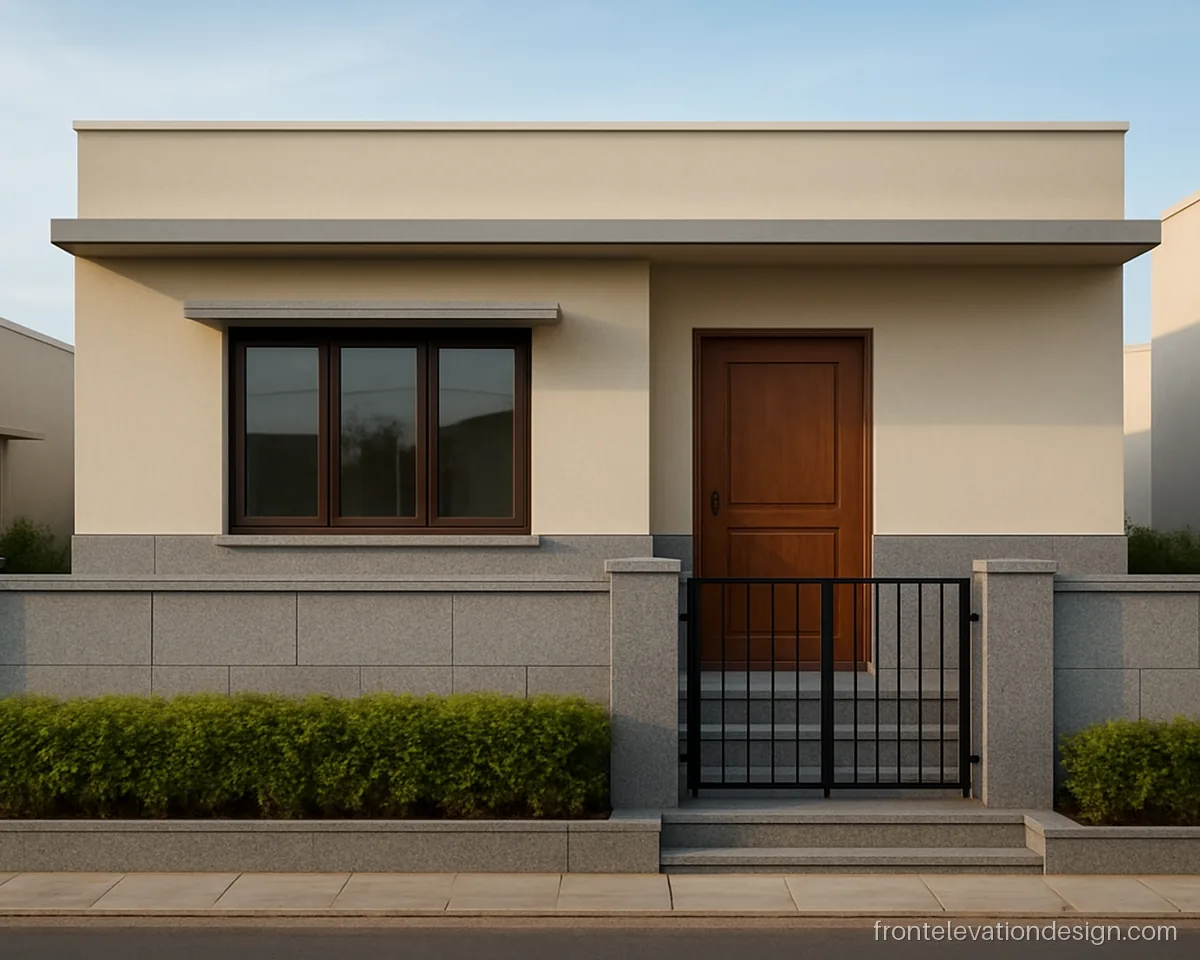
- Plot 30 x 40 ft
- Floors Ground floor
- Materials Flamed granite, paint
Grey flamed granite on the plinth and gate wall takes rain splash and mud with no stain. Flamed finish is not slippery on steps.
Architect's note: Use flamed or leather finish on steps for grip. Seal the top edges with silicone to stop seepage.
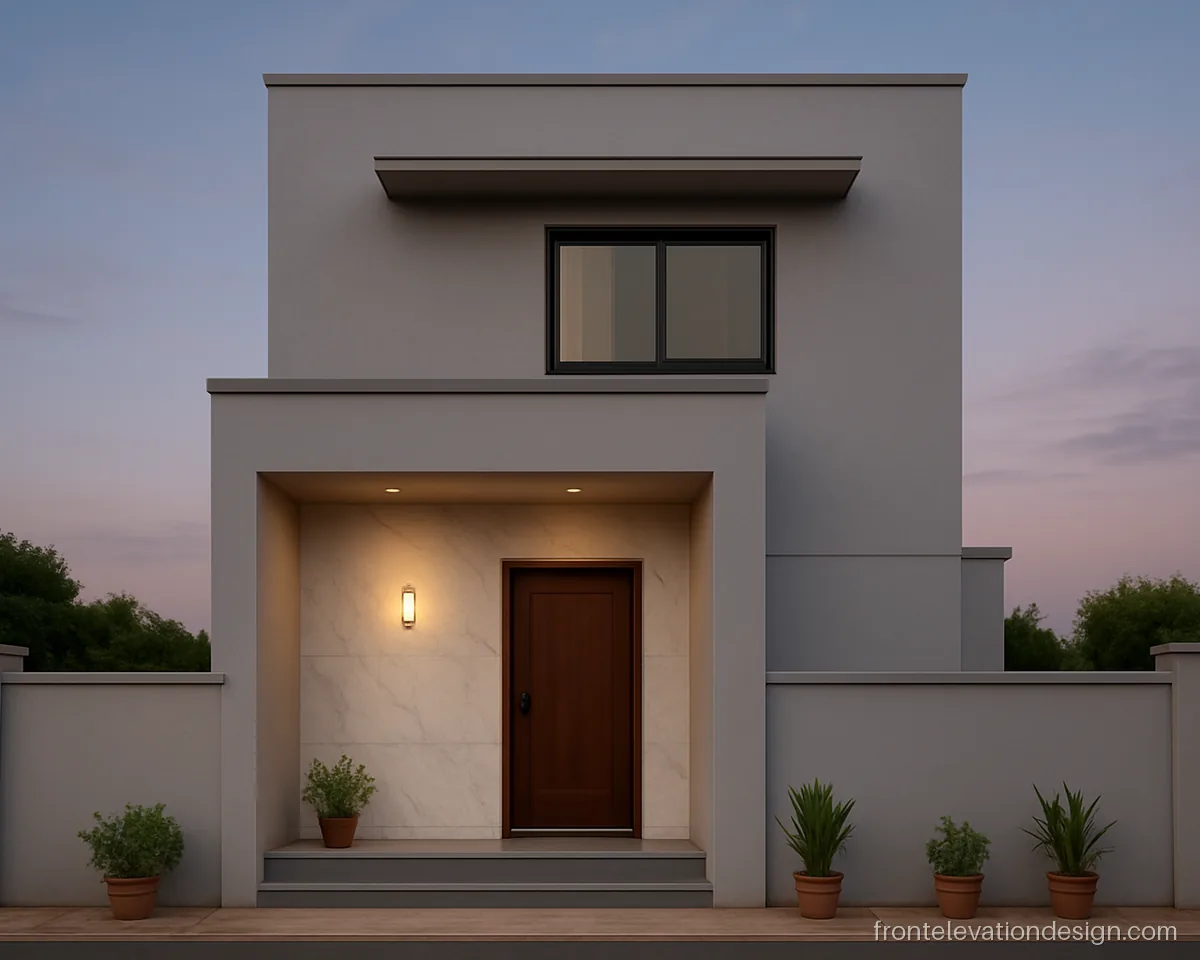
- Plot 25 x 50 ft
- Floors G+1
- Materials Marble look tiles
Marble look tiles on a recessed entry wall stay out of the weather and still give a rich feel. Real marble outside can turn yellow and patchy.
Architect's note: Keep marble or marble look tiles under cover. Plan two light points in the recess before tiling.
3D Front Elevation Tiles Design and Tiles Combination
3D tiles throw small shadows that change through the day. Use them on one wall and pair them with plain paint or a flat tile. A tiles combination of two finishes is usually enough.
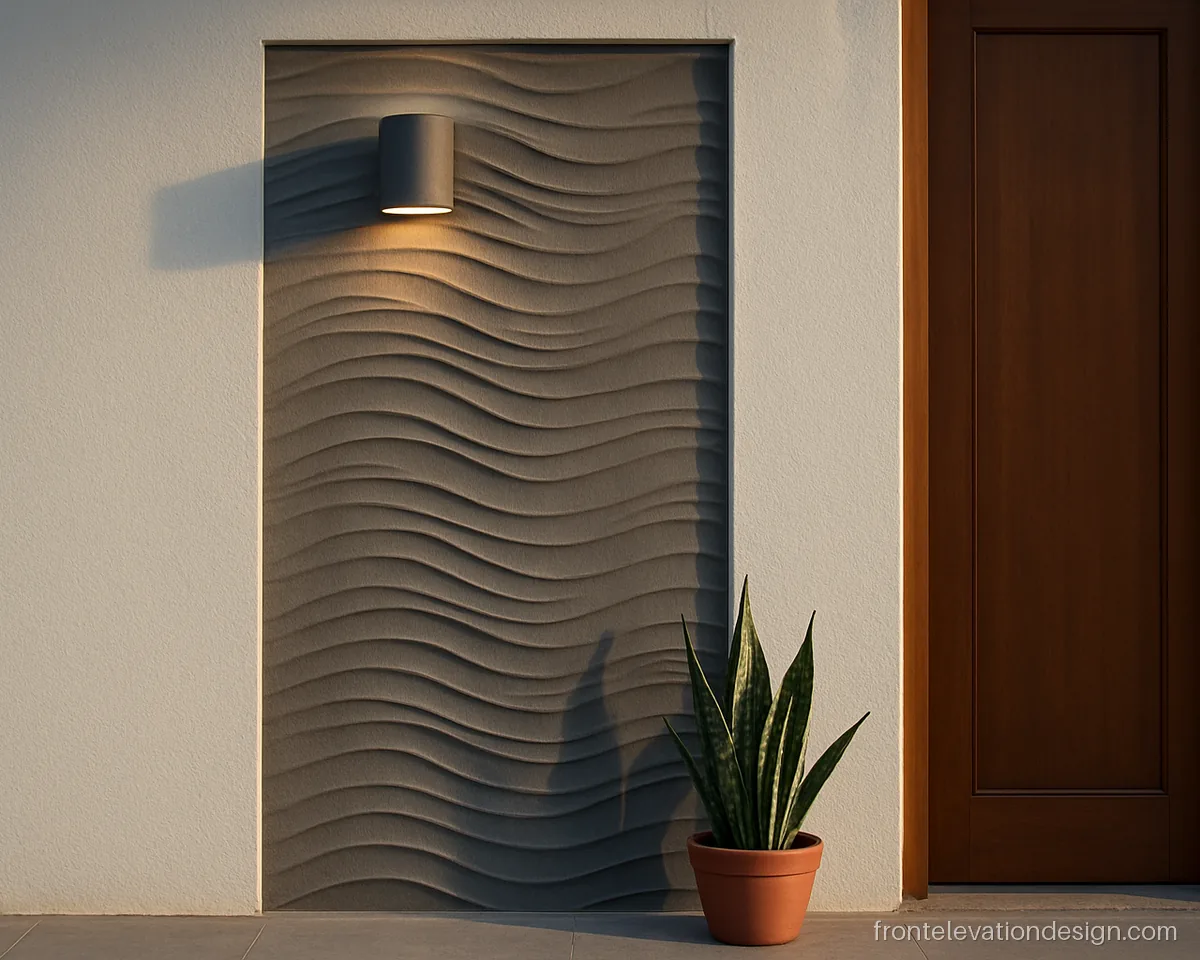
- Plot 20 x 40 ft
- Floors G+1
- Materials 3D cement tiles
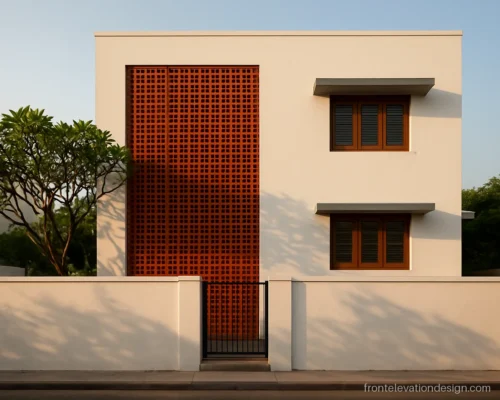
Grey wave pattern 3D tiles catch the morning sun and make a flat wall look textured. Best on a small panel near the door.
Architect's note: 3D tiles collect dust in grooves. Choose a sealed surface and wash it with low pressure water.
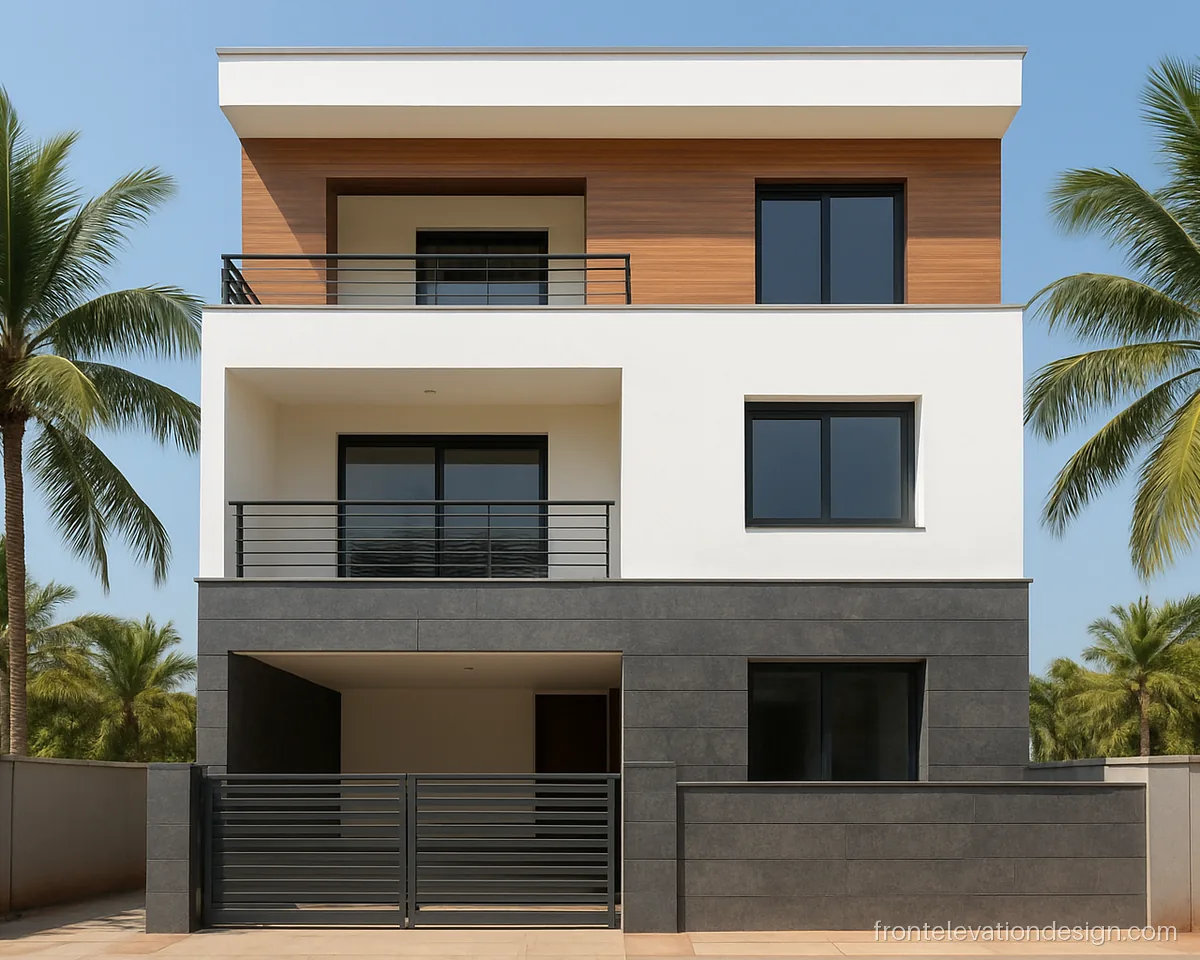
- Plot 30 x 60 ft
- Floors G+2
- Materials Stone and wood tiles
Stone look tiles at the base and wood look tiles at the top floor give a clear bottom-to-top order. White paint in between ties them together.
Architect's note: Use one adhesive system for both tile types. Add drip edges at each slab level.
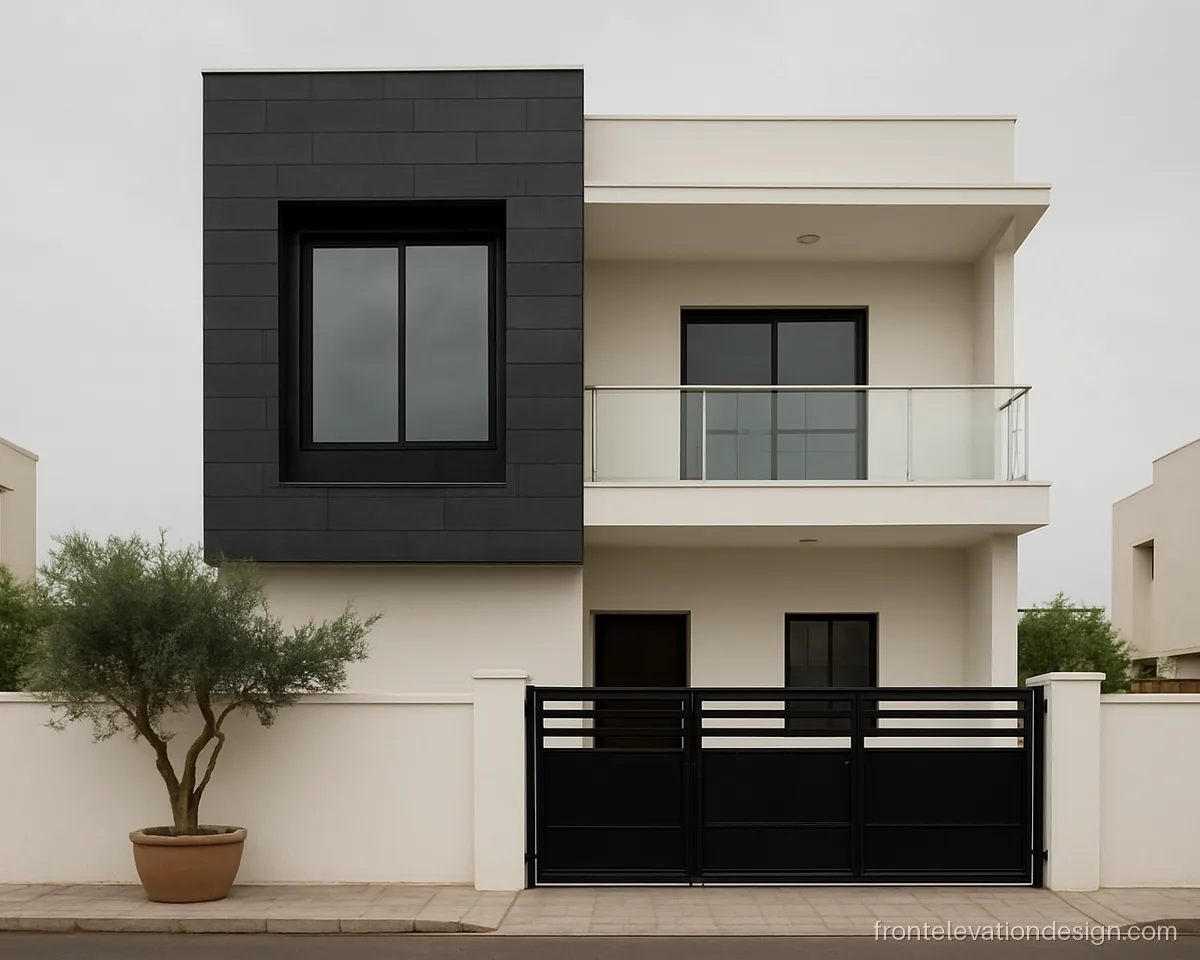
- Plot 25 x 45 ft
- Floors G+1
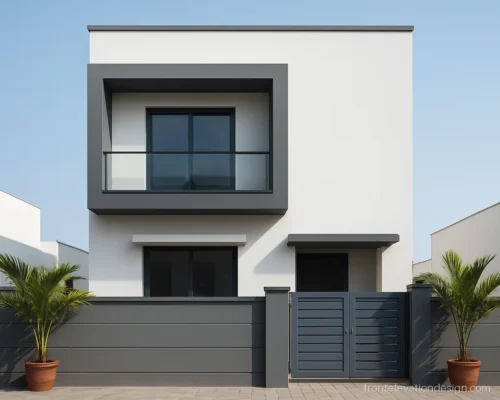
- Materials Black matt tiles, paint
Black matt wall tiles on one frame set against white paint make a sharp modern front. Matt finish hides water marks better than gloss.
Architect's note: Black tiles heat up in sun. Keep them off the west wall and use heat-tolerant adhesive.
Choosing Tiles for Front Elevation by Use
| Material | Best spot | Care |
|---|---|---|
| Stone look tiles | Bands, frames, base | Wash twice a year |
| Natural stone | Lower walls, compound wall | Seal yearly, clamp above 4 ft |
| Wood look tiles | Inside frames, under chhajjas | Low, check grout |
| Brick tiles | Ground floor, corners | Water repellent coat every few years |
| Granite | Pillars, plinth, steps | Very low |
| Marble | Covered entry only | High outdoors |
| 3D tiles | Small panel near door | Dust in grooves |
When you pick a front elevation tiles design for home use, think about who will clean it and how often. Cost rises with the area you clad, natural stone over tiles, and clamp work at height. A small tiled feature with good fixing beats a fully tiled front with weak fixing.
What to Tell Your Contractor
- Use exterior tile adhesive, not plain cement, and leave expansion joints.
- Add stainless steel clamps for heavy stone and any tile fixed above about 8 to 10 ft.
- Put drip edges at the top of every tiled band so rain does not run behind it.
- Grout all joints fully and apply a water repellent on porous tiles.
- On balconies and railings near tiled walls, plan the fixing points first. See balcony and railing designs for ideas.
Front elevation questions
Which tiles for front elevation last longest in the monsoon?
Granite, porcelain stone look tiles and well-fixed natural stone last longest. The fixing matters as much as the tile. Use exterior adhesive, drip edges and clamps for heavy pieces.
Are grey tiles for front elevation a good choice?
Yes, grey hides dust and suits most paint colours. Mid grey stone look tiles with white or beige paint is a safe front elevation tiles combination for most homes.
Which front elevation design tiles suit a small house?
On a small front, tile one band or frame only. A tall strip beside the staircase window works well on narrow plots. See our small house front elevation page for layouts.
Is a front elevation wall tiles design safe on upper floors?
It can be, with the right fixing. Tiles above about 8 to 10 ft need mechanical clamps besides adhesive. Ask a structural engineer or experienced contractor to check heavy cladding.
Can black tiles be used for front elevation?
Black matt tiles look sharp on a small frame or pillar. Avoid large black areas on west or south walls, as they absorb heat and can loosen if the adhesive is weak.
Is marble good for a house front elevation?
Marble stains and weathers outside. Use it only in covered spots such as a recessed entry, or choose marble look porcelain tiles that handle sun and rain better.